


How to Clean Your Carepod

Humidifiers are a great addition to your home. With added moisture to the air, you'll find that some of your most annoying health woes will be relieved — dry skin, sore throats, stuffy noses.
However, lately it has come to attention that most traditional humidifier models area breeding ground for mold and bacteria. With lots of surface area, hidden corners, and ample amounts of stale water, microbes can grow.

Luckily, unlike other humidifiers, Carepod stainless steel humidifiers are easy to clean with just three simple steps. And — it's 99.99% sterilizable!
Let's get into it.
Weekly Cleaning
Step 1: Disassemble
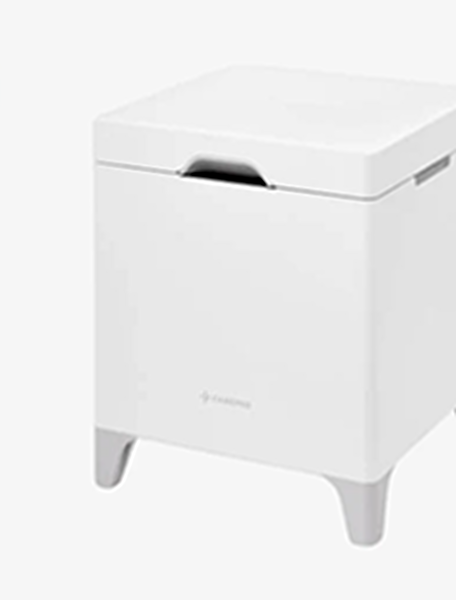
The first step of your cleaning process is to separate your Carepod humidifier into 3 parts.
Remove the white oscillator wand from your humidifier and set it aside. Then, lift the top of the humidifier and detach the stainless steel cover.

Lastly, remove the stainless steel water tank.
To recap, disassemble the humidifier into 3 parts:
- White oscillator wand
- Stainless steel inner lid cover
- Stainless steel water tank
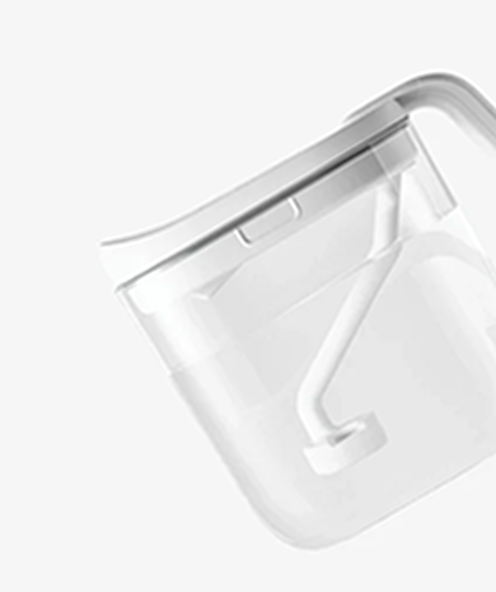
Step 2: Gently Clean the Wand
First, take the oscillator wand.
Using a soft sponge, gently clean the bottom half with soap and water. Make sure to keep the electric plug of the wand out of water.
Avoid soaking the entire oscillator in boiling water. Please also note that using too much pressure or abrasive scrubbers when cleaning can damage the wand.

Step 3: Clean, Boil or Add Stainless Steel Parts to Dishwasher
You may wash the stainless steel humidifier water tank and inner lid cover with one of three ways:
- Gently hand wash with soap and water
- Sterilize in boiling water
- Add to dishwasher
To hand wash, gently use a soft sponge to clean the stainless steel water tank and the inner lid cover with dish soap and water.
To sterilize, place the inner lid cover into the water tank. Fill the water tank with water and place on top of the stove. Turn the stove onto medium heat, and bring water to boil. Leave at boiling temperature for 1-2 minutes to fully sterilize. Safely remove from heat, and allow the water tank to cool before throwing out the water.
To add to dishwasher, simply place the stainless steel parts inside the rack. Run a gentle cycle.
Either way, the cleaning process is fairly simple and will ensure your humidifier is sterilized.
Lastly, Wipe Dry
Once done, wipe dry the oscillator wand, inner lid cover, and water tank with a soft towel. You may also wipe the Carepod humidifier's main body with a dry towel to remove any dust, if needed.

And... All Done!
See how simple it is to clean your Carepod? With just 3 steps, you'll be done in no time.
How to Clean a Regular Humidifier
As other humidifiers are not built with the same materials as Carepod and do not have easily accessible parts, the cleaning process will be different.
To begin, it is recommended that the water in your humidifier is replaced daily. The water in your humidifier is the water in your air, and you want to ensure that it is fresh and clean.
It is essential that you thoroughly clean the inside of your humidifier at least once a week (although daily cleaning is recommended). This may vary depending on the model, but here is a general guide to disinfecting.
- Disassemble - Separate any parts that are detachable. This way, you can be clean the surrounding areas.
-
Clean with white vinegar - Rinse and soak all parts of your humidifier with white vinegar or a white vinegar and water solution for about 20 minutes. Use a toothbrush or cleaning brush to get hard to reach crevices.

- Rinse with Water - After removing the white vinegar, rinse the humidifier parts thoroughly with water.
- Dry - For all the areas of your humidifier that can be reached by hand, dry with a clean towel. For unreachable areas, let them air dry.
Final Thoughts
Carepod saves you valuable time, by being easy to clean, without requiring any chemicals for cleaning.
And, not only is Carepod's maintenance painless — it is much safer than traditional humidifiers.
As every nook and cranny of the humidifier can be truly seen and reached by hand, it is easy to ensure that there is no hidden mold and bacteria growth behind the scenes.
If you'd like to learn more about Carepod, explore our website here.