


Carepod Quick Start Guide

So you just received your Carepod in the mail... now what? Well, you've come to the right place!
Setting up your Carepod is a simple process. Once you know what to do, you won't need much help. So, how about a quick rundown to help you get started?
Let's go!
How to Assemble
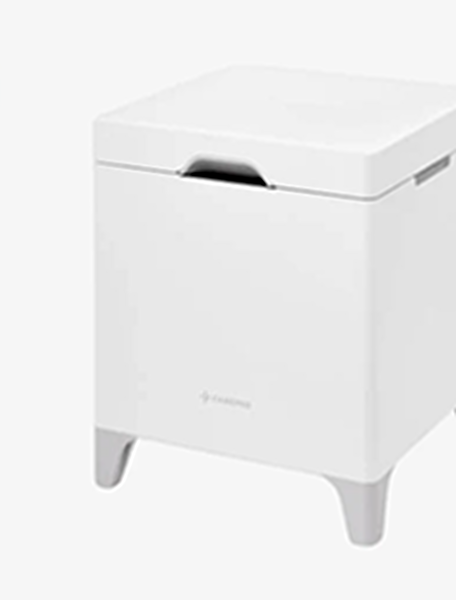
The assembly for your humidifier will depend on the model you own. Make sure to check your purchase information to see if you own the MS031S2 Model (the stainless steel humidifier) or the MS021P Model (the plastic humidifier).

MS031S2 Model
- Unbox the package.
- Take out your Carepod humidifier and the separate oscillator part.
- Lift the lid of the humidifier and attach the oscillator to the hinge piece. Both have triangles pointing in the direction in which they should be attached.
- Slowly lift the oscillator so it is parallel to the top lid of the humidifier.
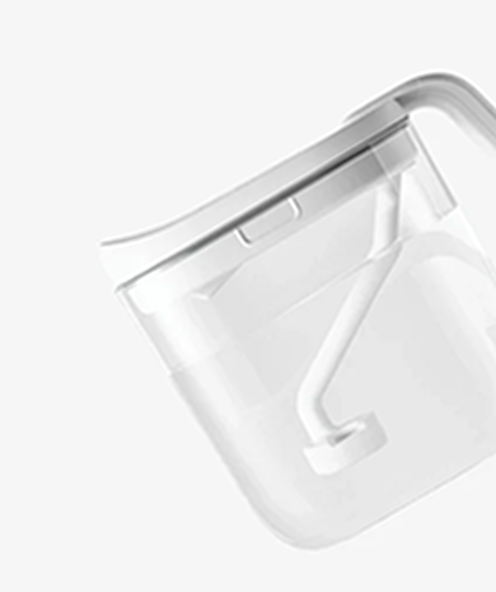
- Remove the water tank from the humidifier and fill it to the max line with water.
- Line up the water tank and place it back into the humidifier.
- Pull down the oscillator and close the lid.
- Connect the power line.

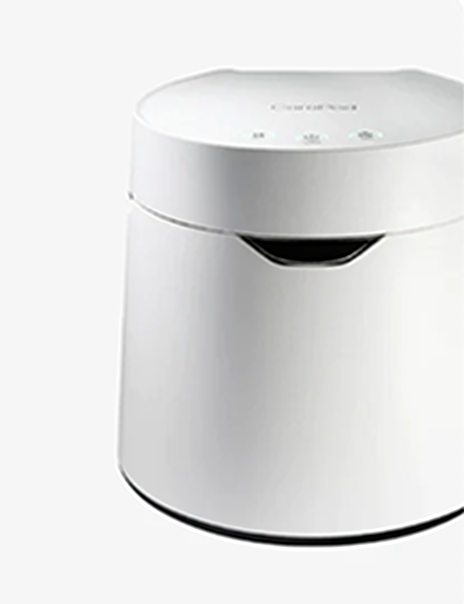
MS021P Model
- Unbox the package.
- Take out your Carepod humidifier and the separate oscillator part.
- Remove the lid (also called the main body) of the humidifier and attach the oscillator to the hinge piece. Both have triangles pointing in the direction in which they should be attached.
- Fill up the tank to the max line with water.
- Line up the lid (main body) with the tank and place it onto the humidifier.
- Connect the power line.

How to Use
After setting up your humidifier, you can now move on to the fun part -- using it!
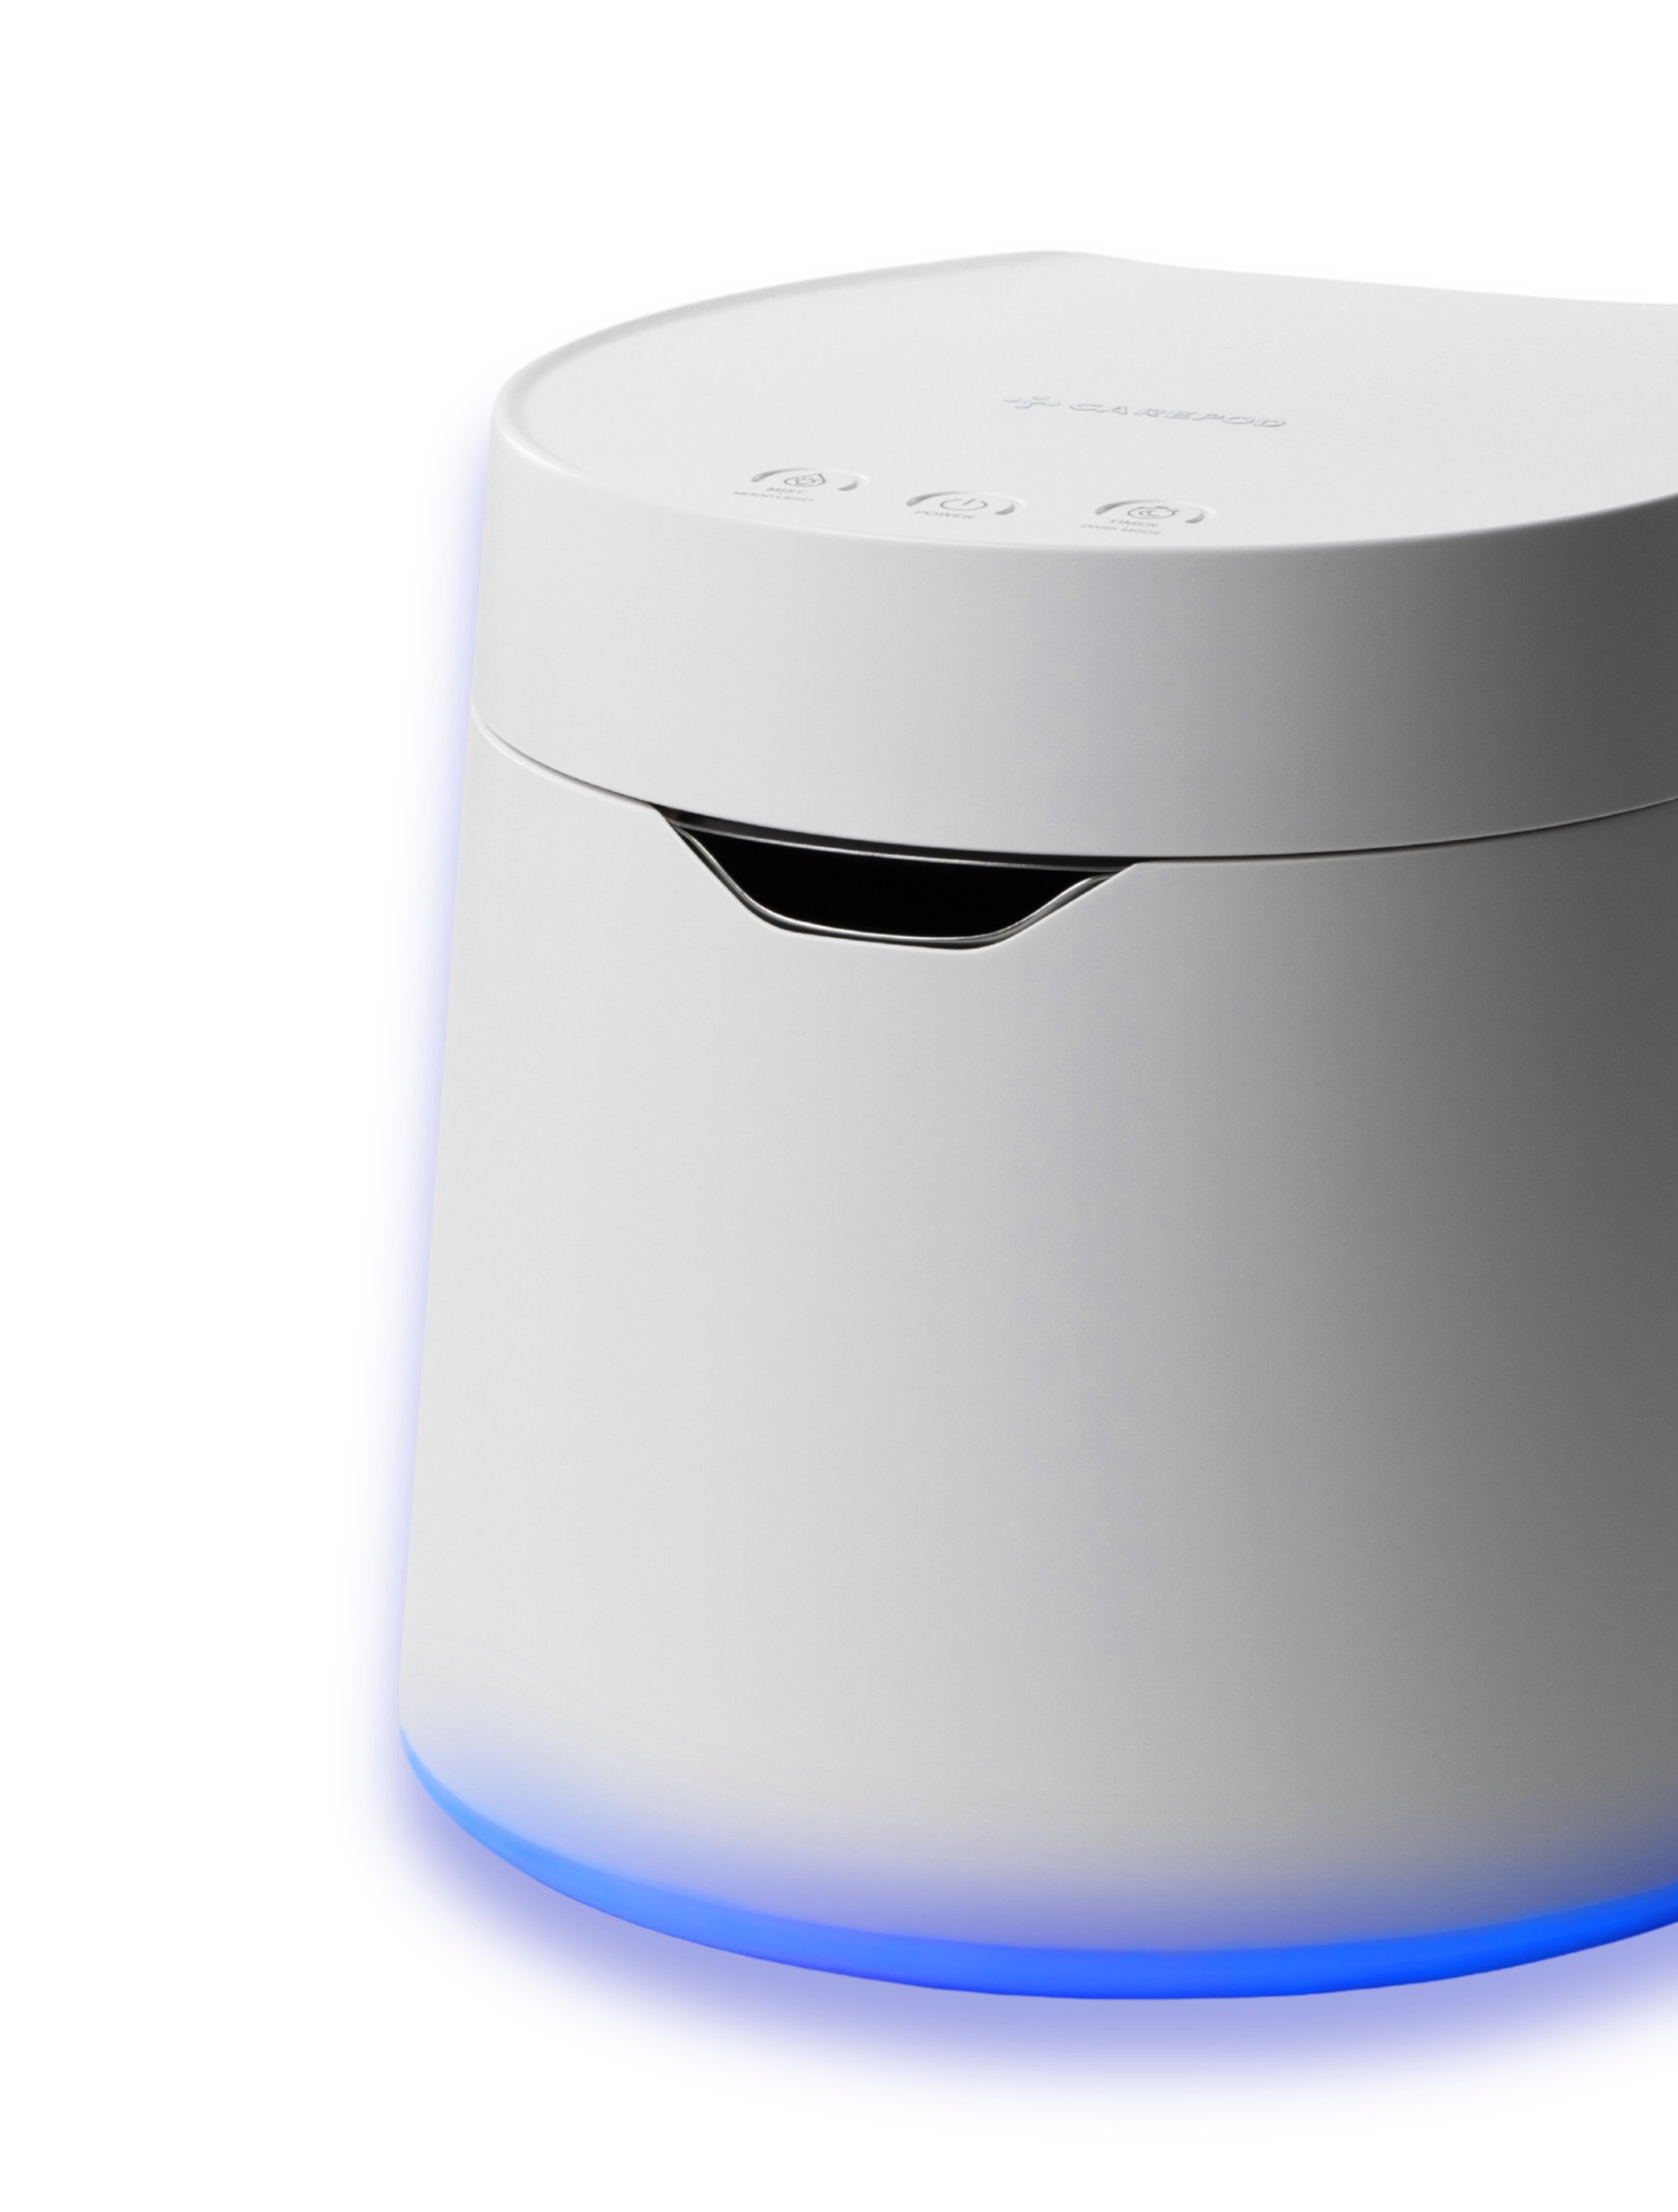
On the top of your Carepod, there will be three buttons. From left to right, they are Mist, Power (Water), and Timer. Each of these buttons are important as they will let you adjust the operation of the humidifier according to your preferences.

Mist
The leftmost button, known as the mist button, is your humidity control function. It allows you to adjust the amount of humidity your Carepod emits.
Around the circumference of the mist icon are three LED light bars. These will tell you which humidity level your humidifier is set to. By touching your mist button, you can adjust your humidity level.
When the leftmost bar is illuminated green, your Carepod is set to level one -- low humidification. When the first two bars are illuminated, the humidifier its set to medium humidification. Finally, all three LED lights illuminated denotes the high humidification level.

Power (Water)
The middle button of the three is your power button. Once you press this icon, your humidifier will start moisturizing. To stop humidification, you press the power button again. The fan will then automatically shut off after 30 seconds.
Around the circumference of the power icon are three LED light bars. Pay attention, because these lights will tell you the water status of your humidifier.
When one bar is illuminated green, your humidifier is at the lowest water level. Meanwhile, when there are two green bars, there is a medium water level. Three green bars means that the humidifier tank is full.
When the tank is filled with water, the leftmost bar (level one) will flash a red light three times. If the level one LED light stays red, it means that there is not enough water for humidification. If the level two LED light turns red, your humidifier may be experiencing a PCB error.
Timer
The button all the way on the right is your timer button. If you do not wish to run your humidifier continuously, you can use this button to choose a set run time.
When the level one bar is green, your humidifier is set to four hours. Level two sets your humidifier to six hours. And, finally, when all three bars are illuminated green, your humidifier is set to eight hours.
As time passes, your humidifier will change levels to show how much time is left. So, for instance, if you originally set your humidifier to level two (six hours), after two hours, the timer button will change to level one to show that there are four hours left.

Type of Water
When using your humidifier, it is important to consider the type of water that you put in it.
The best water to utilize for your humidifier will be either distilled or filtered. Tap water is not recommended for humidifier use as it often contains lots of minerals, such as magnesium, sodium, and calcium.
Minerals can be beneficial for drinking or hand washing, but are not ideal for your humidifier. While using tap water, you risk the formation of mineral deposits in your water tank, which can leave a white dust on your humidifier and be released into the air. Depending where you live, tap water may also contain microbes like bacteria.

These byproducts can result in health hazards such as respiratory problems and are best avoided altogether.
Where to Place Your Humidifier
It is best to use your humidifier in a room that is not too big or too small for its capacity, as this can result in over-humidification or ineffective use. Carepod is best used in rooms that are around 500 square feet.

When using your humidifier, it is best to place it in an area that is not directly adjacent to objects that can be damaged from moisture. This may include art, electrical areas, or wooden areas, such as hardwood floors or tables, as these can be warped.
We also advise that the humidifier is kept out of extreme temperatures. Do not place the product in an area where it would come into direct contact with hot air, such as direct sunlight, gas stoves, heaters, etc.
If you are to put your humidifier in a bedroom, make sure to keep it at least three feet away from the bed. This way, the occupant will not be directly exposed to too much moisture.
When to Use
The best time to use your humidifier is when the humidity level is below 30% and no higher than 50%.
However, as most people will not be able to determine the exact humidity level in their room (unless you own a moisture meter), a good rule of thumb is to use your humidifier during the winter. Indoor heating systems tend to result in dry air. Your Carepod will do wonders at counteracting this.
How to Clean
Carepod is 99.9% sterilizable, making it one of the cleanest humidifiers around. The cleaning process is very simple, with just three steps to save you time and effort.
- Disassemble your humidifier into four parts: the oscillator, lid, lid cover, and water tank.
- Hand wash your lid cover and water tank with soap and water or sterilize in boiling water. Hand wash the oscillator using a toothbrush. Do not wash the lid.
- Wipe all parts with a dry and clean towel.

To learn more about the cleaning process, read our blog on "How to Clean Your Carepod."
Final Thoughts
There you go! We hope this information was helpful and allows you to get started with your Carepod in no time. Happy humidifying!